Next STEM Night @ Leopold: TBD
The PFO tries to host a STEM Night at Leopold every year. STEM stands for "Science, Technology, Engineering, and Math" and it is a push to get children experiencing these wonderful fields to get them using that creative part of their minds. There are many great job opportunities in STEM fields, so the sooner a child can be exposed to them and see if it's something they want to pursue as a career, the better!
Below you will find some of the stations we put on at the event, plus a few with instructions that you can do at home - most of them can be done with basic household items you may already have laying around. You can also get your kids excited about the next STEM Night with these coloring pages.
Stay on the lookout for announcements about when the next STEM Night will be coming to Leopold!
Have feedback you'd like to give on past STEM Nights or suggestions for future STEM Nights? Fill out this form.
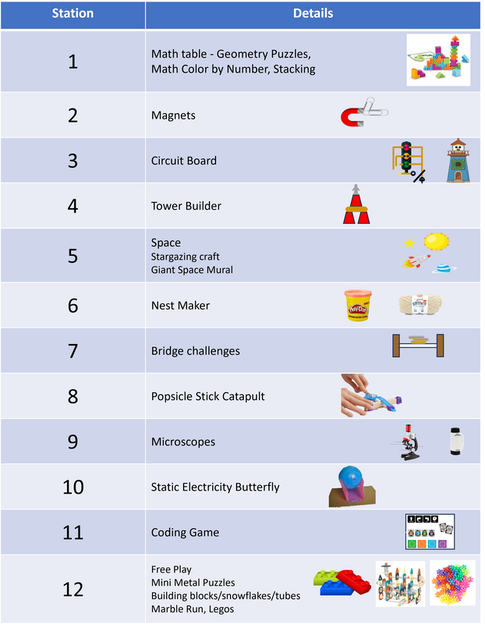
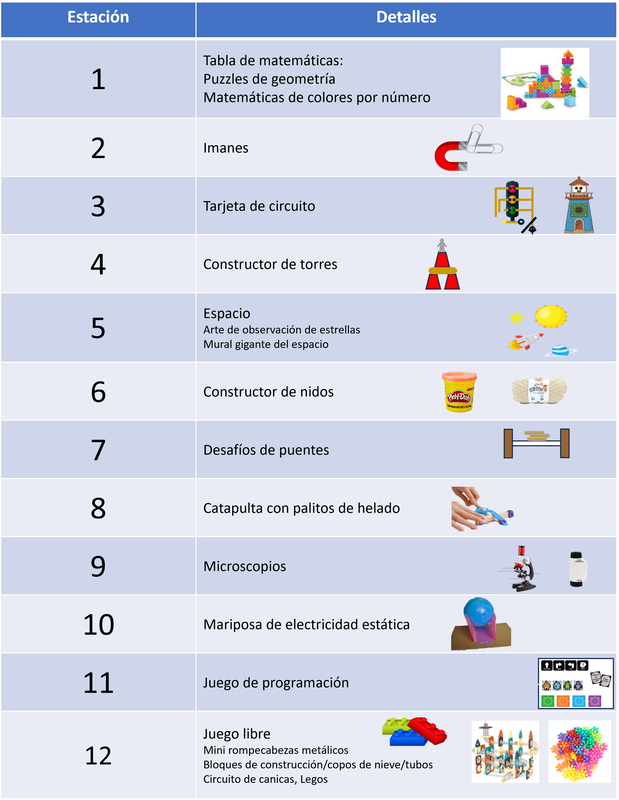
Stations typically at the STEM Night
|
|


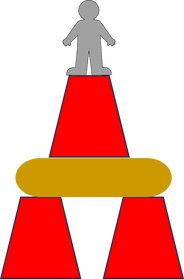
Tower Builder
|
Materials
Use the materials to create a tower. Place a figurine on top to see if they can stay on! How high can you make your tower? Try different combinations of cups and sticks to see what works best! |
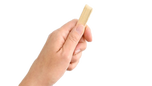
Popsicle Stick Catapult
https://onelittleproject.com/popsicle-stick-catapult/
Materials
Materials
- Small Popsicle Sticks
- Spoons
- Bag of Rubber bands
- Pom Poms/Cotton Balls/Beads/etc.
- Targets
|
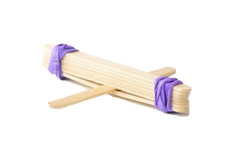
Take seven of the popsicle sticks and line them up on top of each other. |
|

|
Take a rubber band and wrap it tightly around one end of the popsicle sticks.
|
|
Place the last (eighth) popsicle stick between the first and second popsicle sticks, sliding it to the middle. |

|
|
Take a second rubber band and wrap it tightly around the other end of the popsicle stick stack |
|
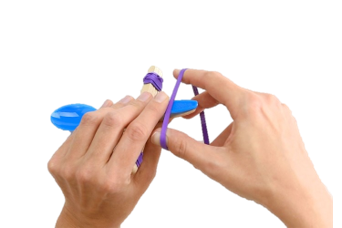
Line up the handle of the plastic spoon with one end of the single popsicle stick. Attach the handle tightly with an elastic. |
|

|
You can now test out the catapult, using all kinds of different projectiles. Pull down on the spoon, place a projectile on it, and let it fly! |
Printable Target to attempt to land your pom poms on!
Static Electricity Butterfly
Materials
- Cardboard
- Tissue paper
- Cardstock Paper
- Pencil
- Kids Scissors
- Googly Eyes (optional, can also be drawn on)
- Balloons
- Glue Sticks/Glue
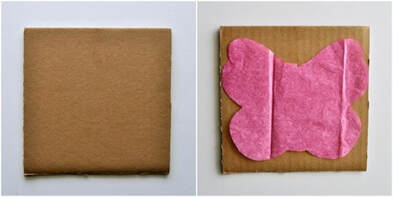
Grab a square of cardboard. Use your pencil to draw butterfly wings on your tissue paper – make sure they will fit on your cardboard. Cut them out and set them on your cardboard
Grab/cut a butterfly body out of your cardstock paper and glue it down the middle of your butterfly and overlapping it onto your cardboard. Do not glue the tissue paper wings down -you will want the wings loose like shown in picture. Color in eyes/wings/antennae.
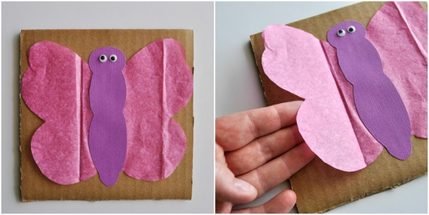
Blow up a balloon. Rub your balloon in your hair to give it an electric charge. Now hold the balloon on top of your butterfly, close but not touching it, and watch the wings raise and lower as you move the balloon closer and farther away.

Why did the butterfly wings move?
When we rubbed the balloon onto our hair, electrons were lost from our hair and gained by the balloon giving it a static charge. When the negatively charged balloon gets close to the positively charged tissue paper they are attracted to each other, and the pull of attraction is so great that the lightweight tissue paper moves toward the balloon.
When we rubbed the balloon onto our hair, electrons were lost from our hair and gained by the balloon giving it a static charge. When the negatively charged balloon gets close to the positively charged tissue paper they are attracted to each other, and the pull of attraction is so great that the lightweight tissue paper moves toward the balloon.
Printable Coding Game
Learning Resources has a free printable version of their coding game. Learn the basics of coding principles without needing a computer. Use your kid's favorite figurines instead of the robots to add another layer of fun! The instructions mention using the spinner, but the printable version has cards instead, so simply face the action cards face down and mix them up every time before drawing one.
Link to Printable PDF.
Link to Printable PDF.